Odoo is a web-based suite of open-source business management applications. The platform includes various business solutions, such as CRM, warehouse management, accounting, billing, website builder, etc.
The Odoo Community edition is free for Ubuntu, but you can switch to the Enterprise edition as needed.
This tutorial shows how to install Odoo on Ubuntu in a Python virtual environment.

Prerequisites
- A machine running Ubuntu (this tutorial uses Ubuntu 24).
- A user account with root privileges.
- Git installed.
- Pip for Python 3 installed.
- NodeJS installed.
Install Odoo on Ubuntu
This tutorial shows how to install Odoo in a virtual environment to create an isolated system and allow users to test different versions on the same machine. Make sure to have Git, Pip, and NodeJS installed on the system, and then follow the steps below to install Odoo on Ubuntu in a Python virtual environment.
The latest version at the time this article was written was Odoo 18, so we will use that version.
Step 1: Update Repository
Open the terminal and update the apt repository to ensure you install the latest available program versions:
sudo apt updateWait for the update to finish.
Step 2: Install Odoo Dependencies
Install Odoo dependencies, including Python3, with the following command:
sudo apt install -y build-essential wget python3-dev python3-venv python3-wheel libfreetype6-dev libxml2-dev libzip-dev libldap2-dev libsasl2-dev python3-setuptools node-less libjpeg-dev zlib1g-dev libpq-dev libxslt1-dev libldap2-dev libtiff5-dev libjpeg8-dev libopenjp2-7-dev liblcms2-dev libwebp-dev libharfbuzz-dev libfribidi-dev libxcb1-devThe installation fetches all the dependencies necessary for Odoo installation.
Step 3: Create Odoo User
Running Odoo as a root user poses a security risk. Create a new system user, group, and home directory named Odoo:
sudo useradd -m -d /opt/odoo -U -r -s /bin/bash odooThe username can be different if it matches the PostgreSQL user and the configuration file information.
Step 4: Install and Configure PostgreSQL
Odoo uses PostgreSQL as the database.
1. Install PostgreSQL from the official Ubuntu repositories with:
sudo apt install postgresql -yWait for the process to complete.
2. Verify the installation by check the service status:
sudo systemctl status postgresql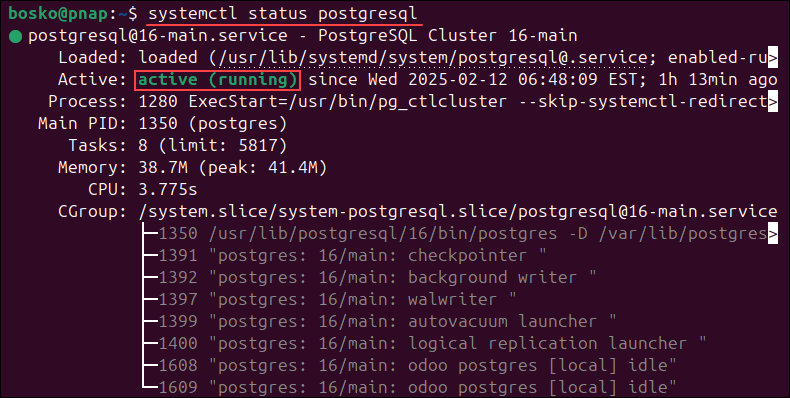
3. Create a Postgres user with the same name as in the previous step:
sudo su - postgres -c "createuser -s odoo"The command creates a user named odoo to manage the database.
Step 5: Install wkhtmltopdf
The wkhtmltopdf set of open-source tools helps render HTML pages into PDFs and images to generate reports in various formats.
To download and install the tools, run:
sudo apt install wkhtmltopdf -yWait for the process to complete before continuing to the next step.
Step 6: Install and Configure Odoo
To install Odoo, follow the steps below:
1. Switch to the odoo user with the sudo su command:
sudo -u odoo -s
2. Clone the Odoo source code from the Git repository:
git clone https://www.github.com/odoo/odoo --depth 1 --branch master --single-branch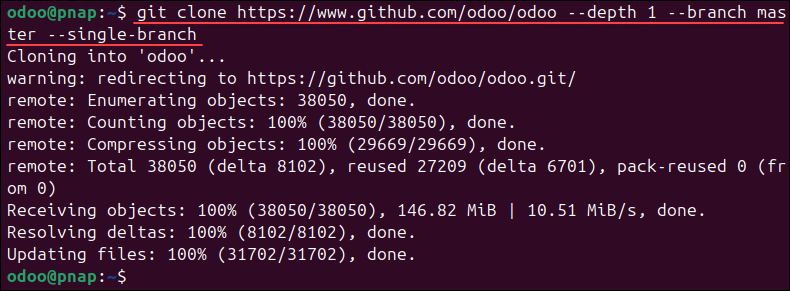
3. After cloning the source code, create a Python virtual environment for Odoo:
python3 -m venv odoo-venv4. Activate the environment with:
source odoo-venv/bin/activate
The environment name shows in the terminal before the user.
5. Install the following requirements for Odoo:
pip3 install wheel
pip3 install -r odoo/requirements.txtWait for the installation to complete.
6. After installing the requirements, Odoo requires additional setup and configuration. Deactivate the environment with:
deactivate7. Create a separate directory for custom addons:
mkdir /opt/odoo/odoo-custom-addonsThis directory defines where Odoo searches for modules.
8. Switch back to the sudo user with:
exit9. Create the odoo.conf file with the nano text editor:
sudo nano /etc/odoo.conf10. Paste the following contents into the odoo.conf file:
[options]
; Database operations password:
admin_passwd = PASSWORD
db_host = False
db_port = False
db_user = odoo
db_password = False
addons_path = /opt/odoo/odoo/addons,/opt/odoo/odoo-custom-addons
Change the PASSWORD field to a secure password for the database. The addons_path field contains the paths to Odoo module locations. Save and close the file.
11. Create the odoo.service file with:
sudo nano /etc/systemd/system/odoo.service12. Paste the following contents into the file:
[Unit]
Description=Odoo
Requires=postgresql.service
After=network.target postgresql.service

[Service]
Type=simple
SyslogIdentifier=odoo
PermissionsStartOnly=true
User=odoo
Group=odoo
ExecStart=/opt/odoo/odoo-venv/bin/python3 /opt/odoo/odoo/odoo-bin -c /etc/odoo.conf
StandardOutput=journal+console

[Install]
WantedBy=multi-user.target
The service connects to Odoo through the Python virtual environment and uses the configuration file from the previous step. Save the changes and close the file.
13. Update the service list:
sudo systemctl daemon-reloadThe Odoo service is now available.
Step 7: Start and Test Odoo
To start and test Odoo, do the following:
1. Enable the Odoo service on system startup:
sudo systemctl enable --now odoo2. Check the service status with:
sudo systemctl status odoo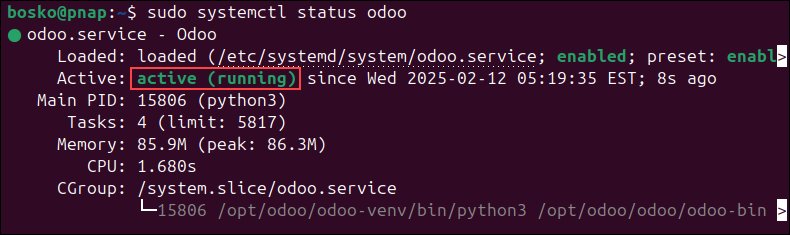
The status shows as active (running).
3. The journalctl file contains all the information about the running service:
sudo journalctl -u odooUse this file to check for any potential errors.
4. Lastly, access Odoo from the browser on localhost port 8069:
http://localhost:8069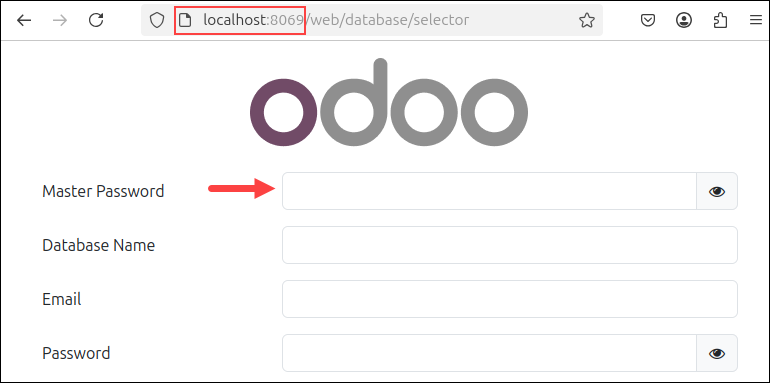
The page shows the Odoo initial setup. Use the password you specified in the /etc/odoo.conf file as the master password.
Step 8: Enable Multiprocessing (Optional)
Odoo works in multithreading mode by default. Change the server to multiprocessing mode before deployment to better use system resources and ensure stability.
The number of CPUs helps approximate the number of workers:
- Maximum workers = (CPUs * 2) + 1. For 4 CPUs, the system would have a maximum of 9 workers.
- One worker serves around six concurrent users theoretically. For 24 simultaneous users, the system requires at least four workers.
- A cron worker requires one CPU.
Therefore, a system with 4 CPUs and 24 concurrent users needs at least six workers, plus an additional cron worker.
The number of workers and RAM distribution determine the total RAM Odoo needs:
- Total RAM = Workers * ((Light worker ratio * Light worker RAM) + (Heavy worker ratio * Heavy worker RAM))
If there are around 80% of light workers that use 100MB RAM and 20% of heavy workers that use 1GB RAM, the calculation is:
Total RAM = 7 * ((100*0.8)+(1024*0.2)) = 1993.6Odoo requires a total of 2GB RAM. Add the information to the /etc/odoo.conf file:
[options]
limit_memory_hard = 2684354560
limit_memory_soft = 2147483648
limit_request = 8192
limit_time_cpu = 600
limit_time_real = 1200
max_cron_threads = 1
workers = 6
To apply the changes, restart the Odoo service:
sudo systemctl restart odooThe remaining system resources are available for the PostgreSQL database and any other services running on the system.
Step 9: Change Port Number (Optional)
By default, Odoo listens on port 8069. It is a good security practice to change the default port number.
Add the following lines to the /etc/odoo.conf file to have Odoo listen only on 127.0.0.1 port 1111:
xmlrpc_interface = 127.0.0.1
netrpc_interface = 127.0.0.1
xmlrpc_port = 1111
Note: See how to check open ports in Linux.
Restart the Odoo service to apply the changes:
sudo systemctl restart odooThe changes apply immediately.
Conclusion
After following the steps in this guide, you should have Odoo installed on Ubuntu. The system is in a Python virtual environment, making it easy to test multiple versions before deploying.
Next, learn how to connect to a PostgreSQL database or learn about PostgreSQL data types.